


Continuing our sojourn into building mobile apps with ease.
In part 1 of this series, we installed all the necessary software and even got a shell mobile app working. Now the fun begins. In this installment, we're going to start building a simple To-Do list application. We won't build the backend database today (that's part 3). For now, we'll create the list entries in the Document Object Model (DOM), but they won't get saved anywhere and so will not persist between executions of the app.
But I'm getting ahead of myself.
jQuery
jQuery is a JavaScript library that makes traversing and manipulating the DOM much easier. Also, the jQuery Mobile library has specific styling and tools to make your HTML "pages" look and act like a mobile app. Let me show you what I mean.
First, we need to include the jQuery libraries. There are several ways we could do this, but for simplicity's sake, we're just going use the Google Hosted libraries. Use this link to access the Google hosted libraries and find the code snippets for jQuery and jQuery Mobile. Copy and paste the snippets into the index.html so that it looks as shown below. The highlights indicate added code. Anything with strikethrough should be removed.
<html>
<head>
<meta charset="utf-8" />
<meta name="format-detection" content="telephone=no" />
<meta name="msapplication-tap-highlight" content="no" />
<!-- WARNING: for iOS 7, remove the width=device-width and height=device-height attributes. See https://issues.apache.org/jira/browse/CB-4323 -->
<meta name="viewport" content="user-scalable=no, initial-scale=1, maximum-scale=1, minimum-scale=1, width=device-width, height=device-height, target-densitydpi=device-dpi" />
<script src="https://ajax.googleapis.com/ajax/libs/jquery/2.1.4/jquery.min.js">
</script>
<link rel="stylesheet"
href=
"https://ajax.googleapis.com/ajax/libs/jquerymobile/1.4.5/jquery.mobile.min.css">
<script src=
"https://ajax.googleapis.com/ajax/libs/jquerymobile/1.4.5/jquery.mobile.min.js">
</script>
<link rel="stylesheet" type="text/css" href="/css/index.css" />
<title>Hello World</title>
</head>
<body>
<div class="app">
This will give us access to the jQuery libraries' functions and CSS styling. Now we can start the changes to the actual HTML page. First, we'll create the basic elements of the main page. This will include a header, content, and the footer. We won't be using the Cordova-generated HTML for the body at all, so replace everything between the <body> </body> tags with the code below.
<div data-role="page" id="mainpage">
<div data-role="header" style="padding-top: 10px;">
<h3>To Do List</h3>
</div>
<div data-role="content">
content will go here
</div>
<div data-theme="a" data-role="footer">
<h3>Copyright 2015 - yourcompany.com</h3>
</div>
</div>
<script type="text/javascript" src="/cordova.js"></script>
<script type="text/javascript" src="/js/index.js"></script>
These are the basic elements for all the "pages" we'll create. Notice the "data-role" and "data-theme" attributes in the <div> tags. These are what jQuery uses to style the elements to look correct for a mobile app. The "data-role='page'" item is what defines this particular page, and we'll use it to build the other "pages" in our app. You can find out more about how to make the most of jQuery Mobile (and how to make your mobile apps visually stunning) by checking out the documentation on the jQuery Mobile site. I will mention some of the jQuery styling we use here but mostly will give you the opportunity to dig into it yourself. The documentation is pretty thorough.
Let's add a button in the header to link to an "about" page. First, we'll add the button and then the "page."
Make the following changes to your code:
<div data-role="header" style="padding-top: 10px;">
<a href="#about" data-role="button" data-transition="fade" data-theme="b">About</a>
<h3>To Do List</h3>
</div>
Before we go any further, let me just say that you should feel free to test your app in between each of our changes. I won't mention it again so just insert testing anywhere you want. That said, if you test the app after adding the button, it should look as shown below:
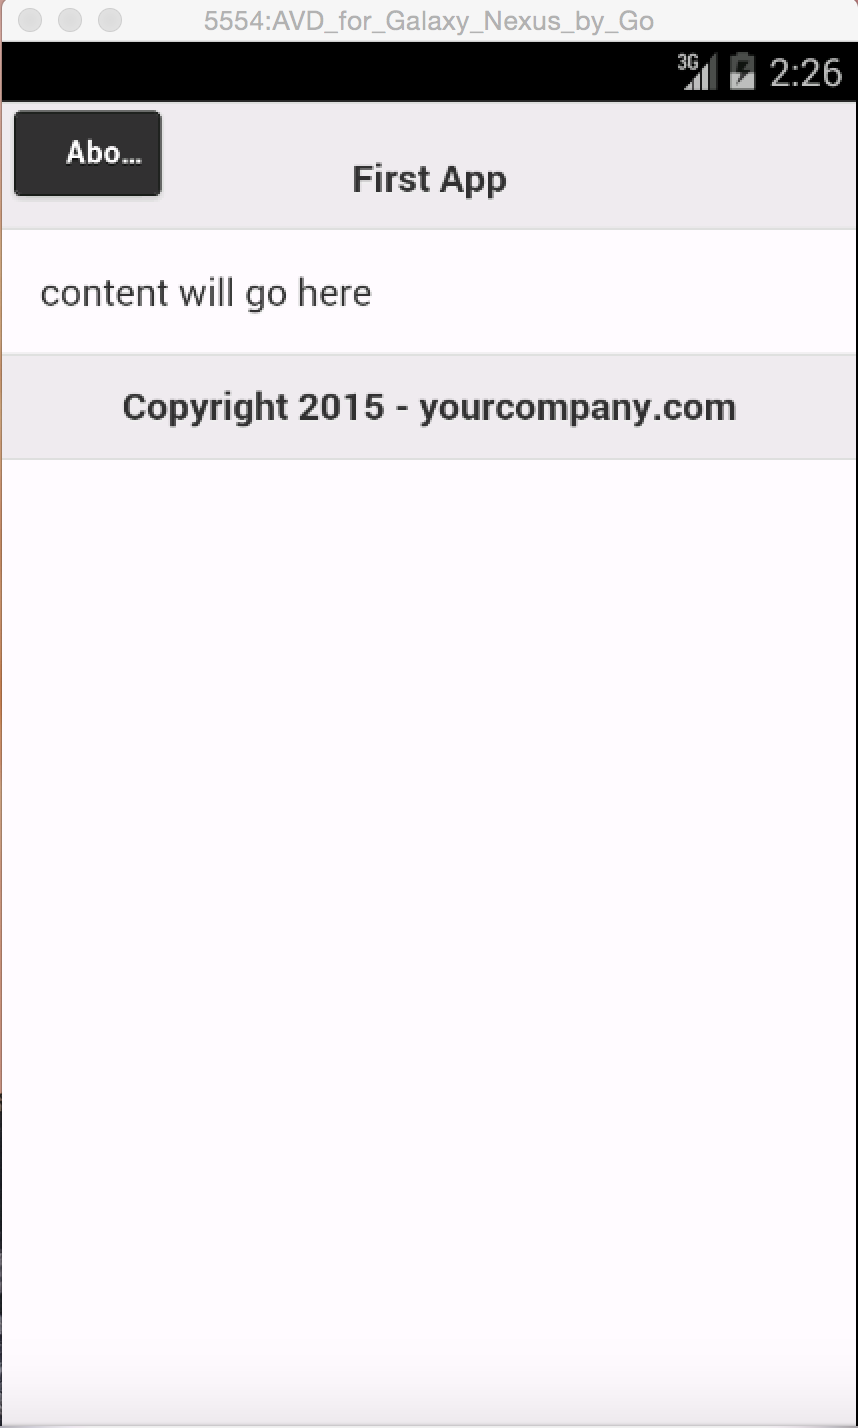
Figure 1: Your app now has the button added.
Now that we have the link, we should probably make it actually go somewhere. Let's add the "about" page. The way I normally add a new "page" is to just cut and paste the existing page and modify it. With that in mind, add the following code after the last </div> in your HTML.
<div data-role="page" id="about">
<div data-theme="a" data-role="header" style="padding-top: 10px;">
<a href="#mainpage" data-role="button" data-icon="arrow-l" data-transition="fade" data-theme="b">Back</a>
<h3>About</h3>
</div>
<div data-role="content">
yourcompany.com<br>
TOTALLY ROCKS!
</div>
<div data-theme="a" data-role="footer">
<h3>Copyright 2015 - yourcompany.com</h3>
</div>
</div>
<script type="text/javascript" src="/cordova.js"></script>
<script type="text/javascript" src="/js/index.js"></script>
So now we have a working link and page. Congratulate yourself if you made it this far! Again, notice the directives for creating a page, a header, and content. Now we'll add a button and entry page to add items to our To-Do list. First let's add the button. This time, we'll use a "flip" transition just to mix things up a bit. Add the following code:
<div data-role="page" id="mainpage">
<div data-role="header" style="padding-top: 10px;">
<a href="#about" data-role="button" data-transition="fade" data-theme="b">About</a>
<h3>To Do List</h3>
<a href="#add-item" data-role="button" data-transition="flip" data-theme="b">Add Item</a>
</div>
This will just add the button to the main page. Now we need to actually create the destination page. Add the code below to your index.html file immediately following code for the About page.
<div data-role="page" id="add-item">
<div data-theme="a" data-role="header" style="padding-top: 10px;">
<a href="#mainpage" data-role="button" data-icon="arrow-l" data-rel="back" data-theme="b">Back</a>
<h3>Add Item</h3>
</div>
<div data-role="content">
<form class="form-inline" method="post">
<label for="item" type="text">Item:</label>
<input type="text" name="item" id="item" value="">
<a href="#add-item" data-role="button" data-icon="arrow-l" data-transition="fade" data-theme="b" onclick="app.addListItem();">Add</a>
</form>
</div>
<div data-theme="a" data-role="footer">
<h3>Copyright 2015 - yourcompany.com</h3>
</div>
</div>
This will create a page with a simple form so that we can input a task and click the button to add it to the existing To-Do list. The "onclick" event on the button will launch a JavaScript function that will actually add the item to our list. We'll get to that shortly. Right now, let's replace the content on the main page with an HTML list with an "empty list" placeholder.
<h3>To Do List</h3>
<a href="#add-item" data-role="button" data-transition="flip" data-theme="b">Add Item</a>
</div>
<div data-role="content">
<ul id="item-list" data-role="listview" data-icon="delete">
<li id="empty-list"><a href="#">{list empty}</a></li>
</ul>
</div>
<div data-theme="a" data-role="footer">
<h3>Copyright 2015 - yourcompany.com</h3>
</div>
We're using some more jQuery Mobile shortcuts here. The data-role "listview" formats our list to fit the mobile device. The data icon "delete" will add the delete "x" icon on the right side of the line items. Unfortunately, we're adding line items "manually," so we need to set them up with the correct classes ourselves. So let's write the JavaScript code to add those list items now.
The Cordova project creation builds an index.js JavaScript file for us. It has some simple initialization and event handlers. We're going to add our own function to add the items.
// Update DOM on a Received Event
receivedEvent: function(id) {
var parentElement = document.getElementById(id);
var listeningElement = parentElement.querySelector('.listening');
var receivedElement = parentElement.querySelector('.received');
listeningElement.setAttribute('style', 'display:none;');
receivedElement.setAttribute('style', 'display:block;');
console.log('Received Event: ' + id);
},
addListItem: function() {
if ($("#item").val() != "") {
if ($("#empty-list").length) {
$("#empty-list").remove();
}
new_item = $("<li><a href='#' class='ui-btn ui-btn-icon-right ui-icon-delete'>"+$("#item").val()+"</a></li>");
$(new_item).click( function(e) {
e.target.remove();
});
$("#item-list").append(new_item)
$("#item").val("")
window.location.href = "#mainpage"
}
}
};
app.initialize();
Take note of the comma after the bracket (}) before the addListItem. If you're unfamiliar with jQuery, then this code is probably pretty confusing. In the simplest terms, we're just manipulating the DOM and setting an event to handle when the user clicks on the delete icon. (To find out more about jQuery, check out the jQuery documentation.) The addListItem function does several things. First, it will check to be sure that the new item text actually contains text (i.e., is not blank). If so, then the placeholder list item will be removed.
if ($("#item").val() != "") {
if ($("#empty-list").length) {
$("#empty-list").remove();
}
Then the new item will be created. As I mentioned before, in this code we need to set up the classes correctly for jQuery mobile to place the "x" delete icon.
new_item = $("<li><a href='#' class='ui-btn ui-btn-icon-right ui-icon-delete'>"+$("#item").val()+"</a></li>");
Then we set up an event so that, when we click on the "x" icon to delete this item, it will actually be deleted.
$(new_item).click( function(e) {
e.target.remove();
});
Lastly, we add the new item to the existing list, clear the input text field, and return to the main page.
$("#item-list").append(new_item)
$("#item").val("")
window.location.href = "#mainpage"
With that, we have a functioning To-Do list. There are lots of little additions that you can test your skills on. For example:
- Add a checkbox to the list items to indicate completed items.
- Add separate lists, e.g., Work list, Home list, Kids list, etc.
- Add the ability to make comments on an item. Allow the user to access those comments by clicking the item on the list.
- Add the ability to delete an item just by swiping it (tons of example code on the Internet for this).
In the next article, we'll discuss how to add AJAX functions to write your list to a database. The source code for the working version of this app can be found at https://github.com/jeffolen4/cordova_first_app.git in the "working-no-database" branch.

Jeff Olen is a super-spy now but keeps his cover identity intact by working for video game studios on the East Coast. So when he’s not out killing members of ISIS or rescuing refugees, you can find him playing Wolfenstein II or testing the new Fallout 76 releases at his beach house in Costa Rica. In any case, he can’t be reached. You can email his cat at
MC Press books written by Jeff Olen available now on the MC Press Bookstore.
 |
The IBM i Programmer’s Guide to PHP Get the scoop on how PHP can—and should—be deployed on IBM systems. List Price $79.95 Now On Sale
|

 Business users want new applications now. Market and regulatory pressures require faster application updates and delivery into production. Your IBM i developers may be approaching retirement, and you see no sure way to fill their positions with experienced developers. In addition, you may be caught between maintaining your existing applications and the uncertainty of moving to something new.
 IT managers hoping to find new IBM i talent are discovering that the pool of experienced RPG programmers and operators or administrators with intimate knowledge of the operating system and the applications that run on it is small. This begs the question: How will you manage the platform that supports such a big part of your business? This guide offers strategies and software suggestions to help you plan IT staffing and resources and smooth the transition after your AS/400 talent retires. Read on to learn:
LATEST COMMENTS
MC Press Online